Use the AI assistants
Learn how to use AI to accelerate your data modeling process
In the previous exercise we have created a logical data model using the basic features of CrossModel. In this exercise we'll use the AI modeling assistant to explore other options for creating data models.
Start from the prepared workspace
The starting point for this tutorial is the base data model: on the welcome page, under
Tutorials & Examples, choose BrightGreen and press Clone. It already contains the
Wms-files folder used below. To see the finished result instead, clone
examples → ai-assistants → use. See
Getting the workspace for a tutorial.
Open up the AI modeling assistant
AI works out of the box - there is nothing to configure. Every CrossModel workspace starts with AI enabled and already pointed at the CrossModel Cloud language-model gateway, so you do not need an API key, an account with a model provider, or any model settings of your own.
Open the AI Chat from the icon in the right-hand bar, from the View menu, or with Ctrl+Alt+I:
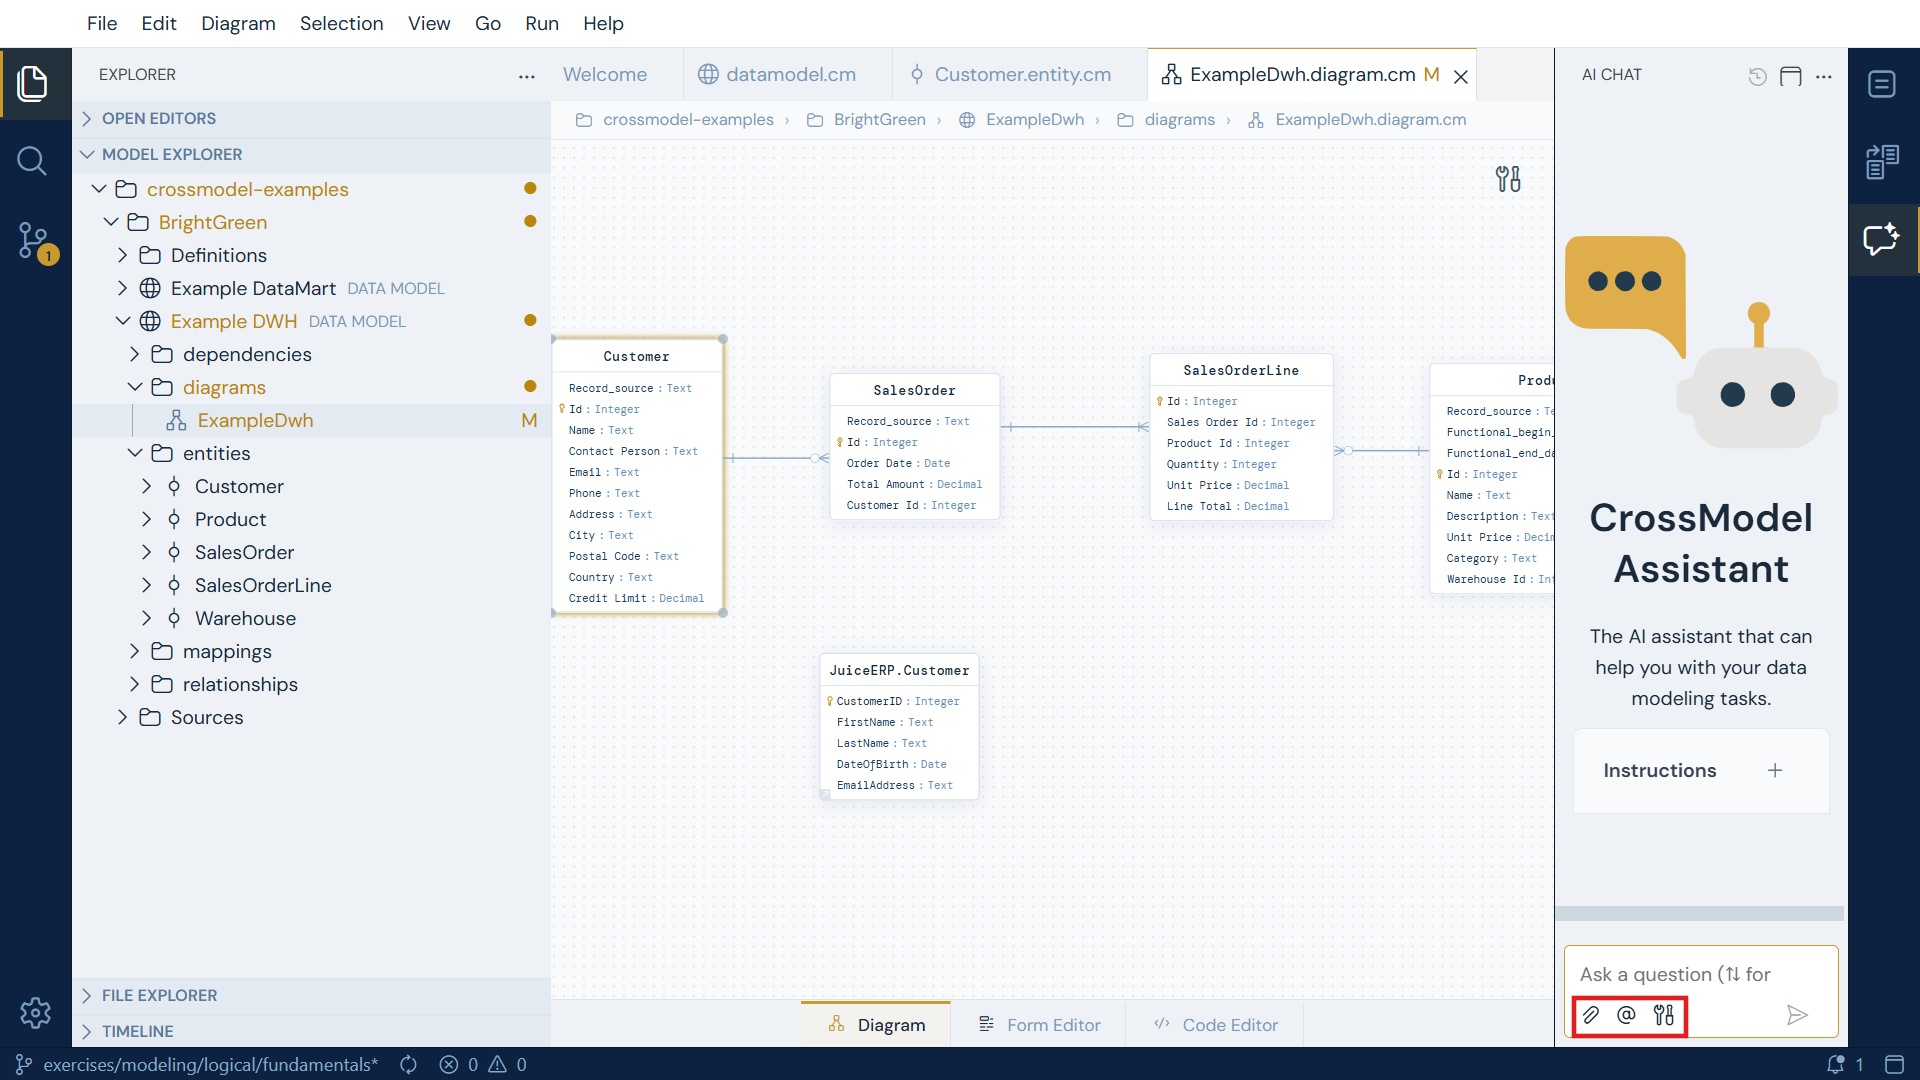
The row of icons under the input box lets you attach a file, address a specific assistant with @, and configure the tools the assistant may use.
Let's see if everything works by entering the following prompt:
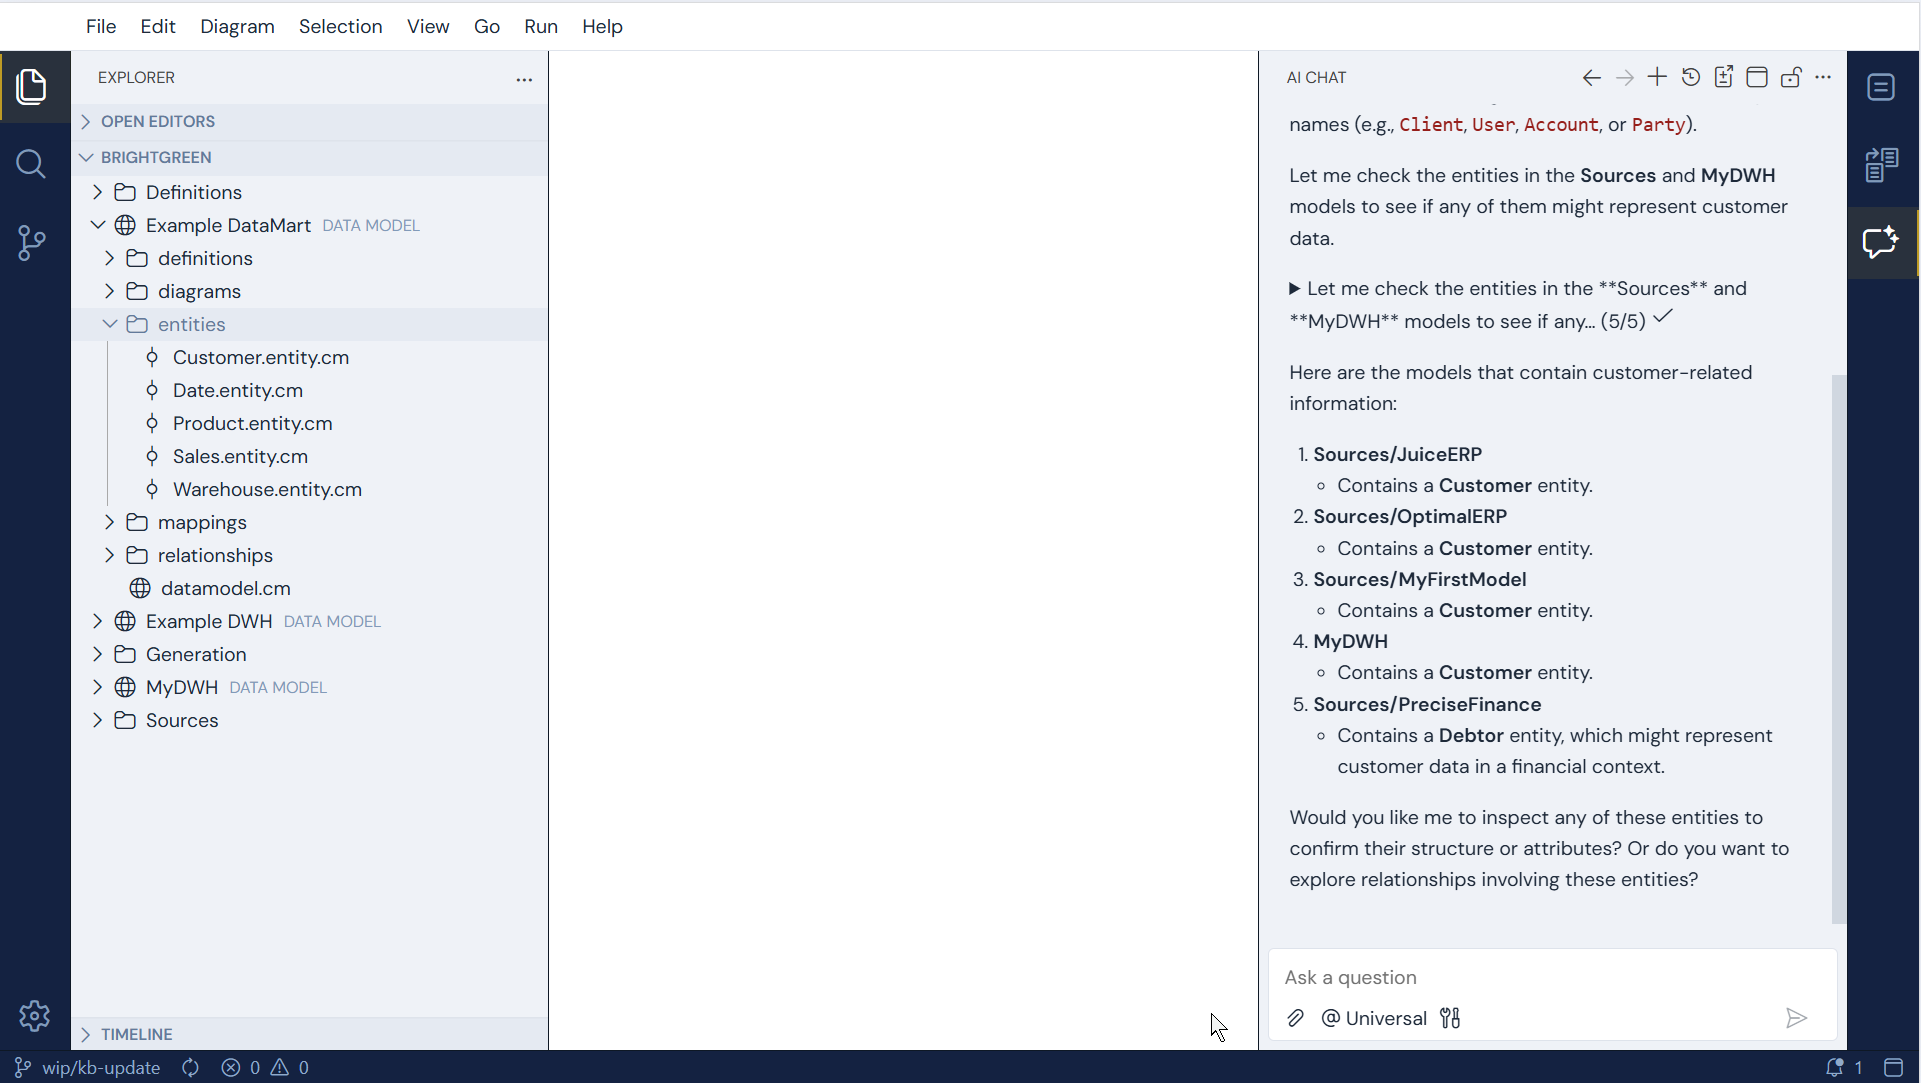
Which models contain information about customers
After processing is complete you should have an output that looks like this:
Picking up where you left off
A CrossModel Cloud session stops when you stop working, and a new one starts with an empty chat. That does not mean the conversation is gone.
The chat's welcome screen shows a link to your most recent conversation, active or saved, with a Show more history link into the full list. You can also reach the list at any time from Browse all chats... in the chat toolbar.
This matters more in the cloud than it looks. If your session was restarted after a period of inactivity you can land in a blank chat and reasonably assume the work is lost, when in fact the previous conversation is one click away.
Keeping an eye on your AI budget
Requests to the assistants cost money, and your workspace is provisioned with its own budget rather than a shared pool. The chat toolbar shows a small circular ring, AI Budget Usage, that fills as you spend against it.
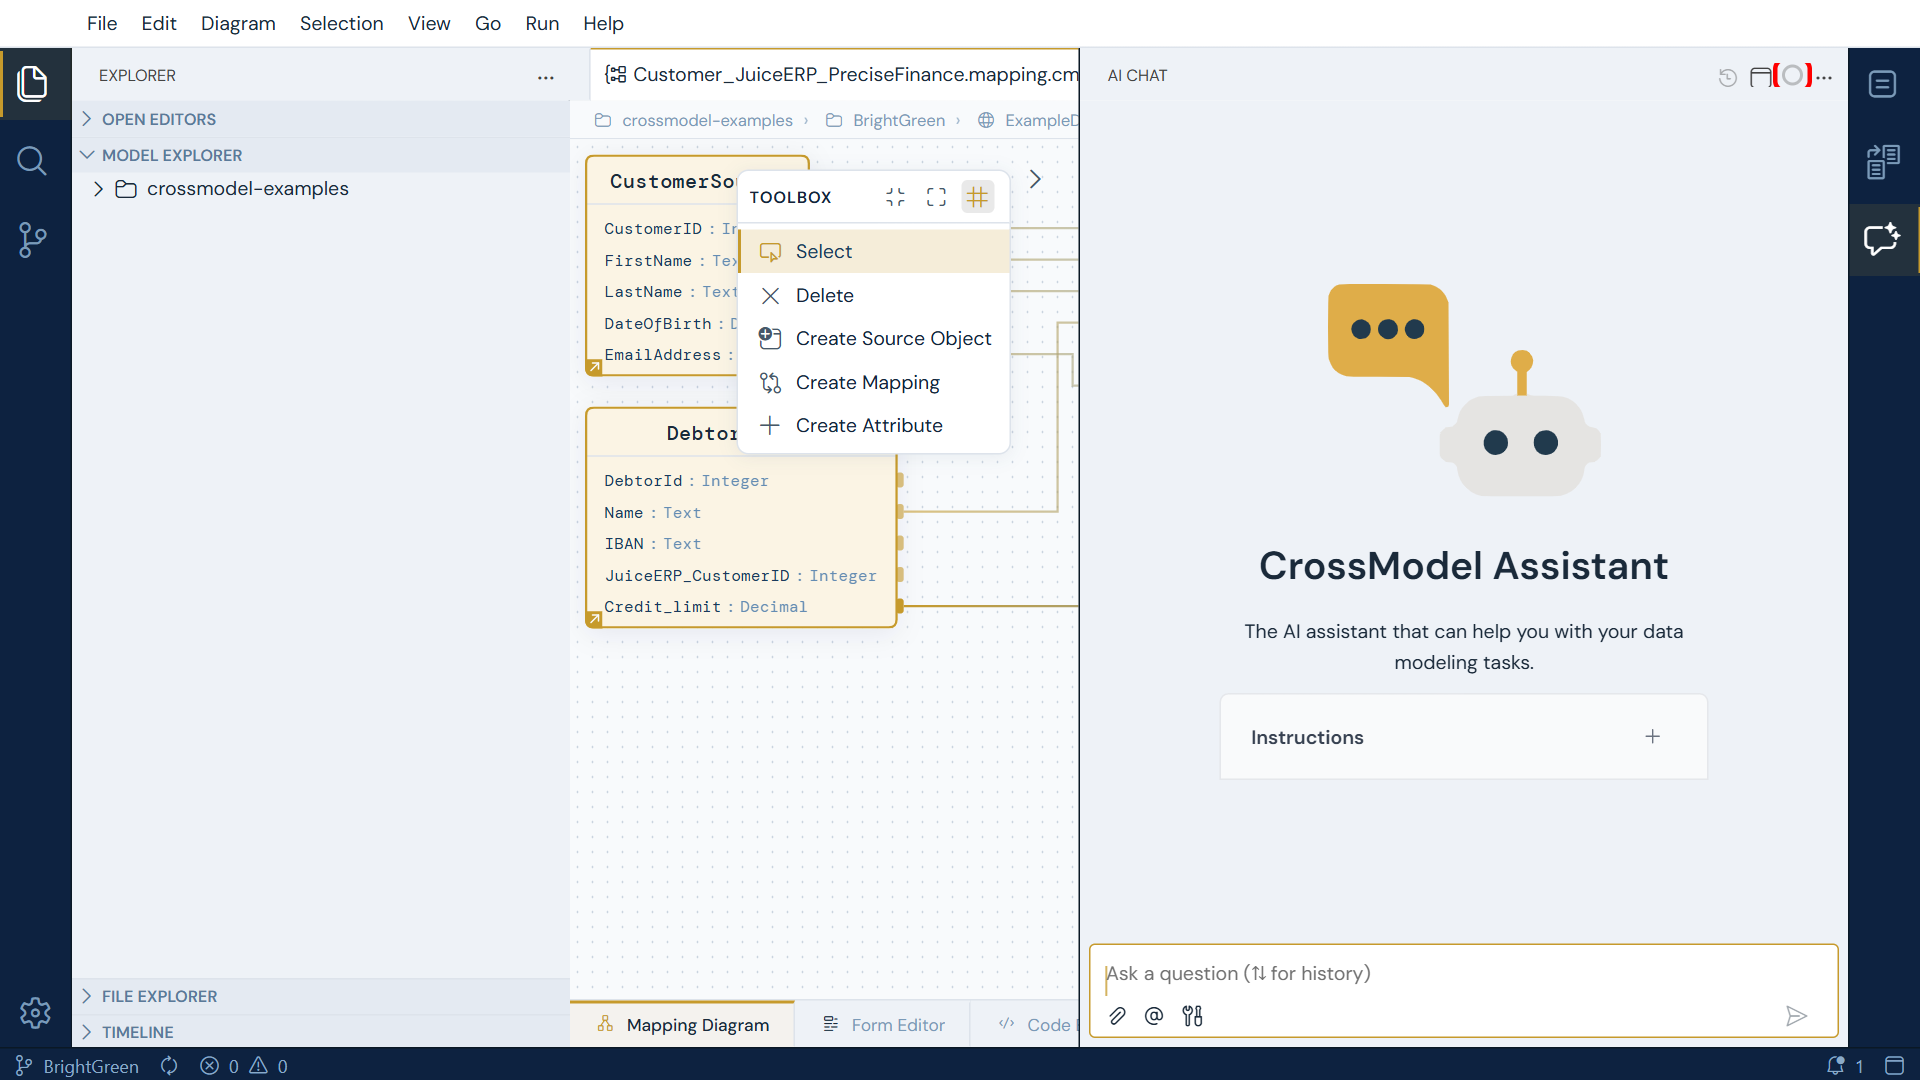
It is easy to miss, which is the reason for the picture: it sits among the other toolbar icons at the top of the chat panel rather than announcing itself.
Hover it for the detail: the percentage used, the date the budget resets, and a breakdown of which models the spend went to. Click it to open the related settings.
When usage crosses a threshold - 80% by default - the ring turns red and CrossModel raises a notification saying "AI budget usage has reached 80%.", with a shortcut to the settings.
Three settings control this, under Settings → AI Features:
| Setting | Default | What it does |
|---|---|---|
ai-features.chat.budgetUsageIndicator.enabled |
on | Shows the ring in the chat toolbar |
ai-features.chat.budgetUsageWarning.enabled |
on | Raises the notification at the threshold |
ai-features.chat.budgetUsageWarning.defaultThresholdPercentage |
80 |
The percentage that turns the ring red and fires the notification |
No ring? Nothing is wrong
The indicator only appears when the configured AI provider reports budget information. If your workspace is pointed at a provider that does not, the ring is hidden rather than shown empty.
Two rings, two different things
Alongside the budget ring, the chat shows a context-window token usage indicator. They look similar and mean different things: the budget ring tracks money spent over time, while the context indicator tracks how full the current conversation is. A conversation that fills its context window has to be summarized or restarted; that is unrelated to how much budget you have left.
Meet the assistants
The modeling assistant is not one AI but a small team. You always talk to the same entry point - the Universal agent - and it routes your request to the specialist that can act on it. You never have to pick an agent yourself, though you can address one directly by typing @ followed by its name.
| Agent | What it does |
|---|---|
| Universal | The entry point. Answers straightforward questions about your workspace directly, and hands anything else to a specialist. It only reads - it never changes your models. |
| LogicalDesigner | Plans and designs a logical data model. Asks clarifying questions and produces a design proposal rather than files. |
| LogicalModeler | Does the actual modeling work: creates and changes entities, relationships, diagrams, mappings and type definitions, and can run code generation. |
| Templater | Writes code generation templates (Handlebars and Nunjucks), and can run a generation to test what it wrote. |
This is why the chat sometimes answers instantly and sometimes reports that it is handing the work over: a question like "which models contain customer information" is answered by Universal from the workspace itself, while "build me a warehouse model from this DDL" is delegated to a specialist that is allowed to write files.
Changing the models behind the assistants
The assistants are pre-configured, but they are ordinary Theia AI settings - you can inspect or override them under Settings → AI Features. Workspace settings live in a .crossmodel folder in your workspace, so any change you make there is versioned in Git alongside your models.
Reverse engineer the WMS data model from DDL
BrightGreen decides to implement a Warehouse Management System (WMS) to administer physical goods movements. To create a logical data model from this new system, the developer has provided you with a DDL file and a PDF with a description of the data data model. Since manually reverse engineering this into a data model is tedious, you decide to reverse engineer the DDL and documentation using the AI modeling assistant of CrossModel.
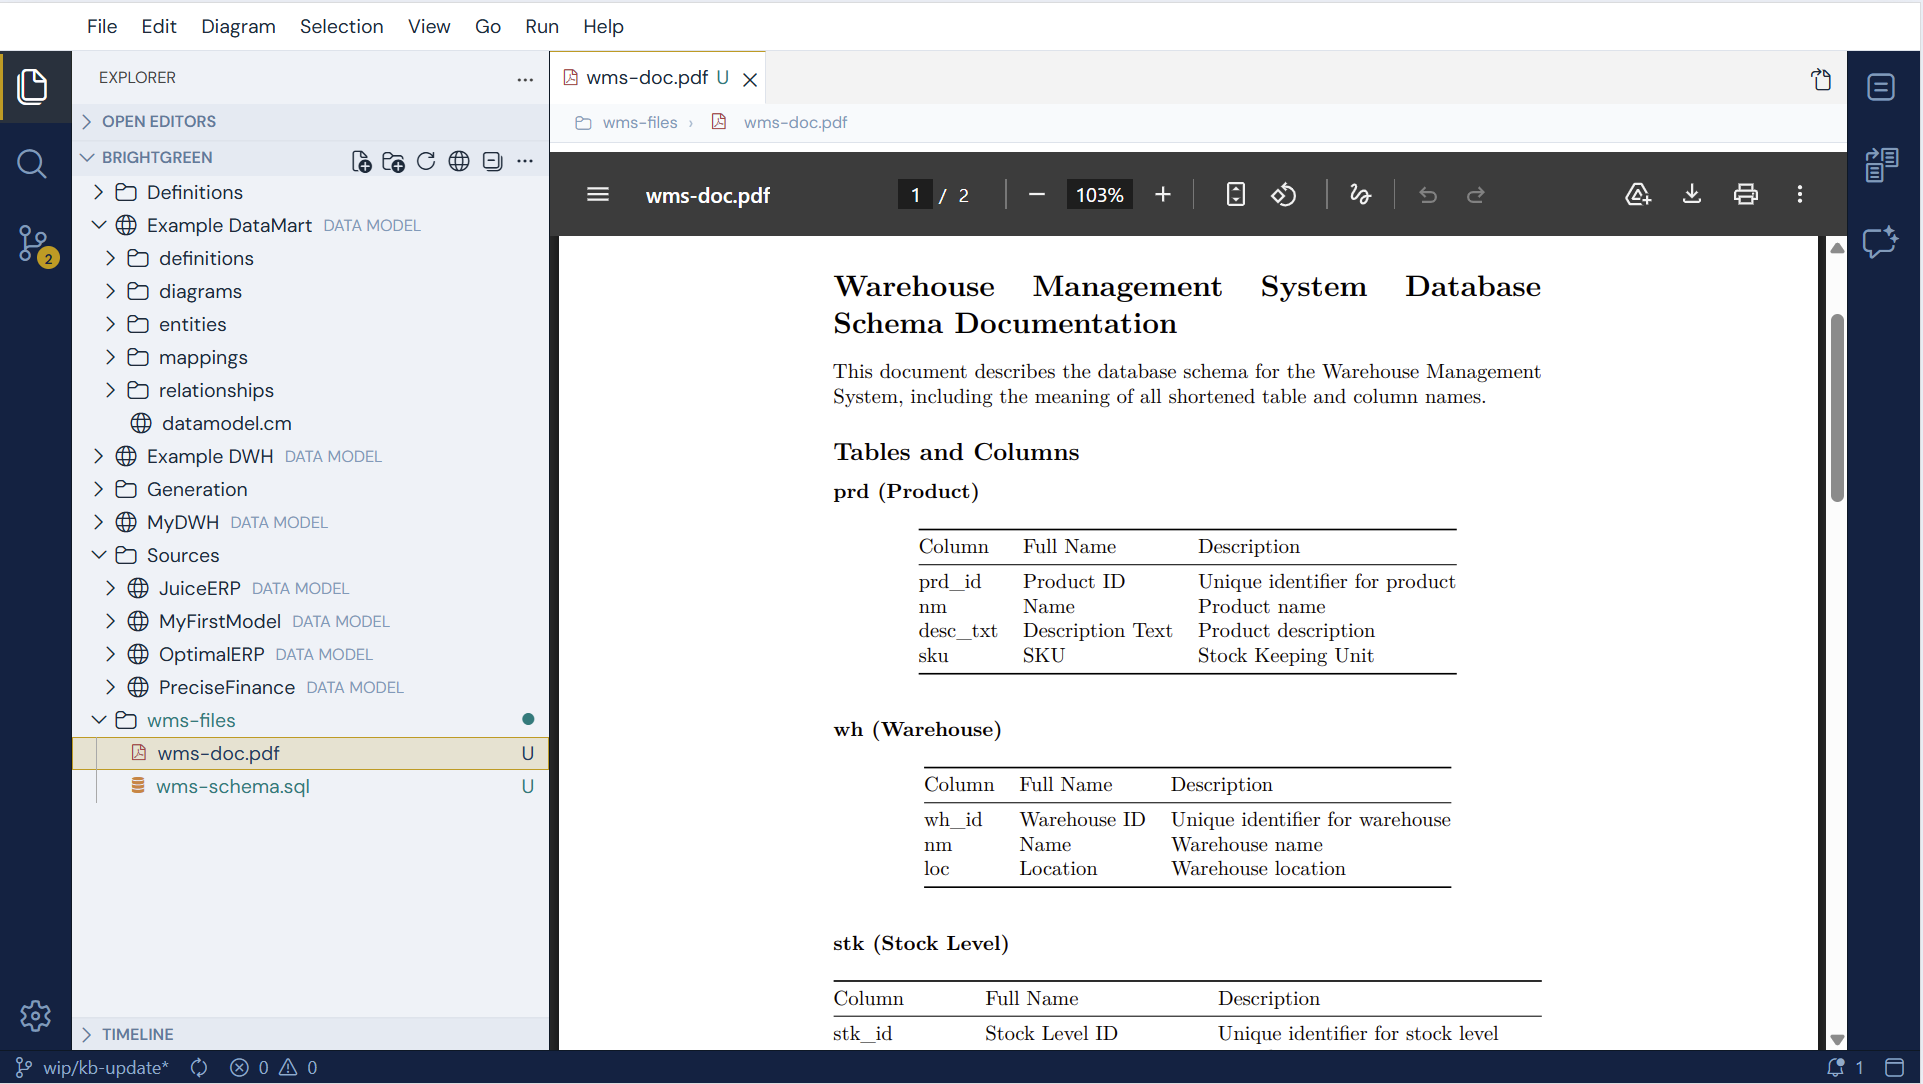
The files can be found in the Wms-files folder in the workspace. Have a look at the DDL and the PDF file if you want to read the documentation before proceeding.
Open the AI-chat and enter the following prompt:
Create a logical data model in the sources folder for the
warehouse management system. Use the attached SQL file to determine the
entities, attributes and propose relationships based on column names.
Use the PDF to set the names and descriptions on entities and attributes.
Also create a logical diagram containing the whole data model.
Give the assistant the files to work from: open the File Explorer, find the DDL and the PDF in the
Wms-files folder, and drag each one onto the chat's input area. They appear above the input box as
attachments, and the assistant reads them from there.
Drag the files in rather than using the attach icon
The attach icon under the input box adds a file to the conversation as well, but in the current release the assistant cannot always resolve a file added that way and will ask you to upload it even though you just attached it. Dragging the file in from the File Explorer avoids that.
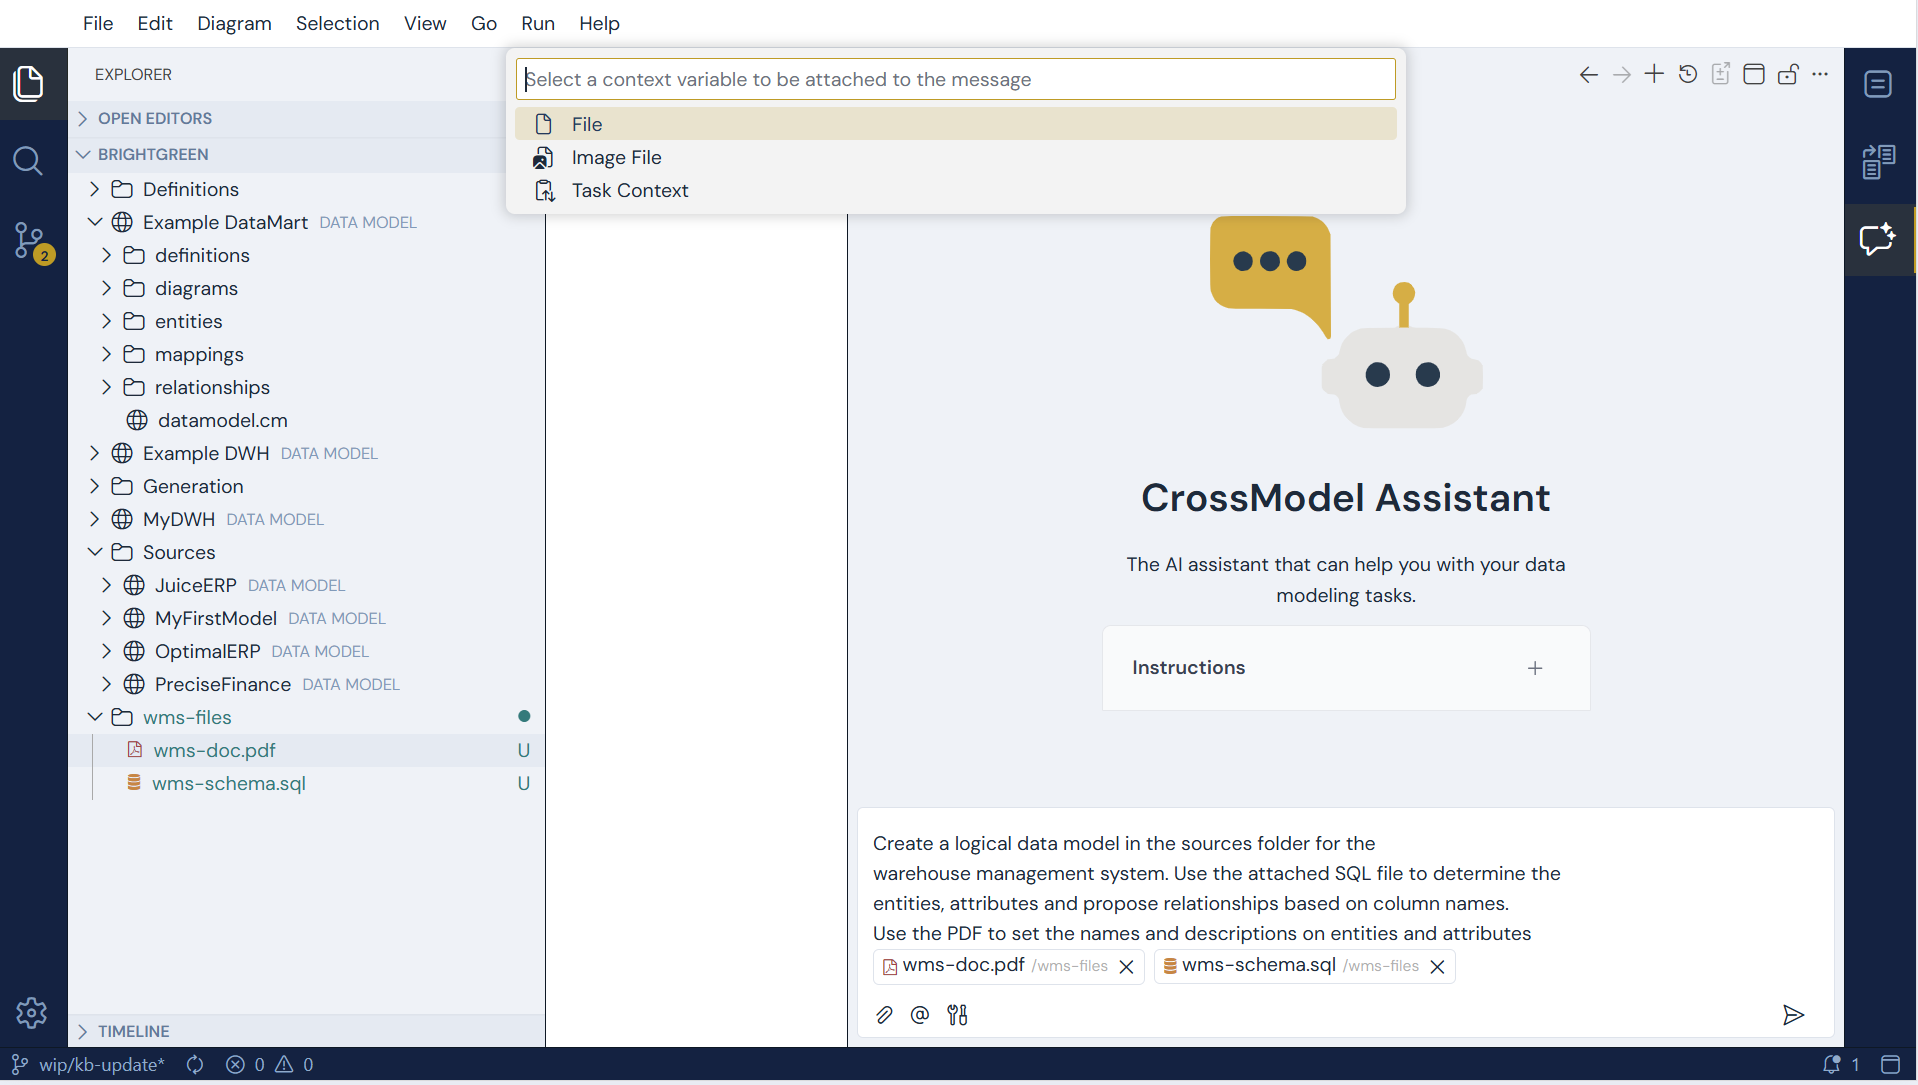
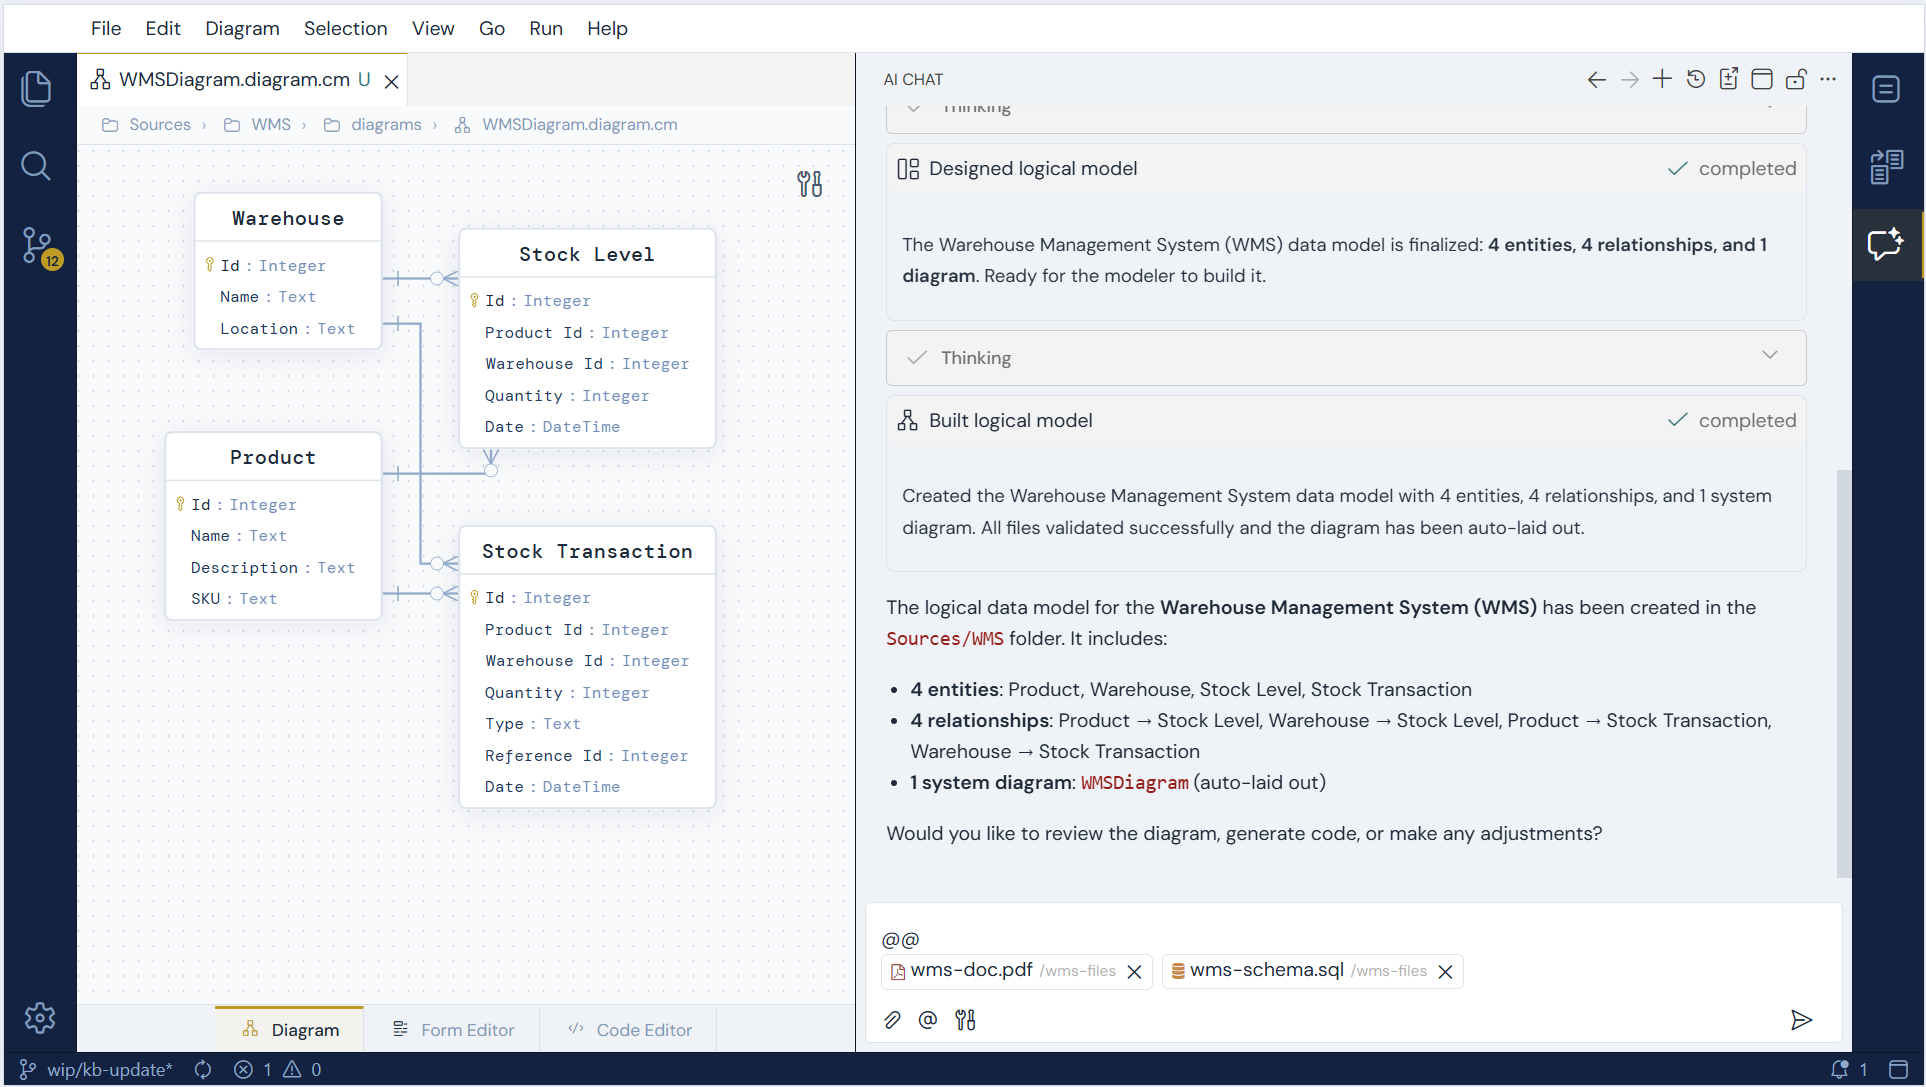
Universal recognises this as modeling work and hands it to the LogicalModeler, which will need some time to process the request. It will ask questions to clarify what the final result needs to be: which folder the model belongs in, which entities to keep, and how to name them. Answer them in the chat and it carries on. After it completes the task, inspect the result. Notice the modeling assistant has created entities, inferred relationships and also created a diagram.
Descriptions from the PDF
In the current release the assistant may not be able to read the PDF, and will offer to continue without the descriptions it contains. The structure still comes from the DDL; the entity and attribute descriptions are then inferred from the schema rather than taken from the documentation.
Wrapup
In this exercise we have seen that AI assistance is available without any setup, met the team of assistants behind the chat, used it to ask questions about our modeling workspace, and experienced how the LogicalModeler reverse engineers a data model from a DDL file and its documentation. In the next exercise we will explore the CrossModel features to specify data lineage between models.