Getting Started
This guide takes you from creating your CrossModel account to building and saving your first data model. By the end, you'll have a workspace with a simple entity ready to explore further.
Step 1: Create your account
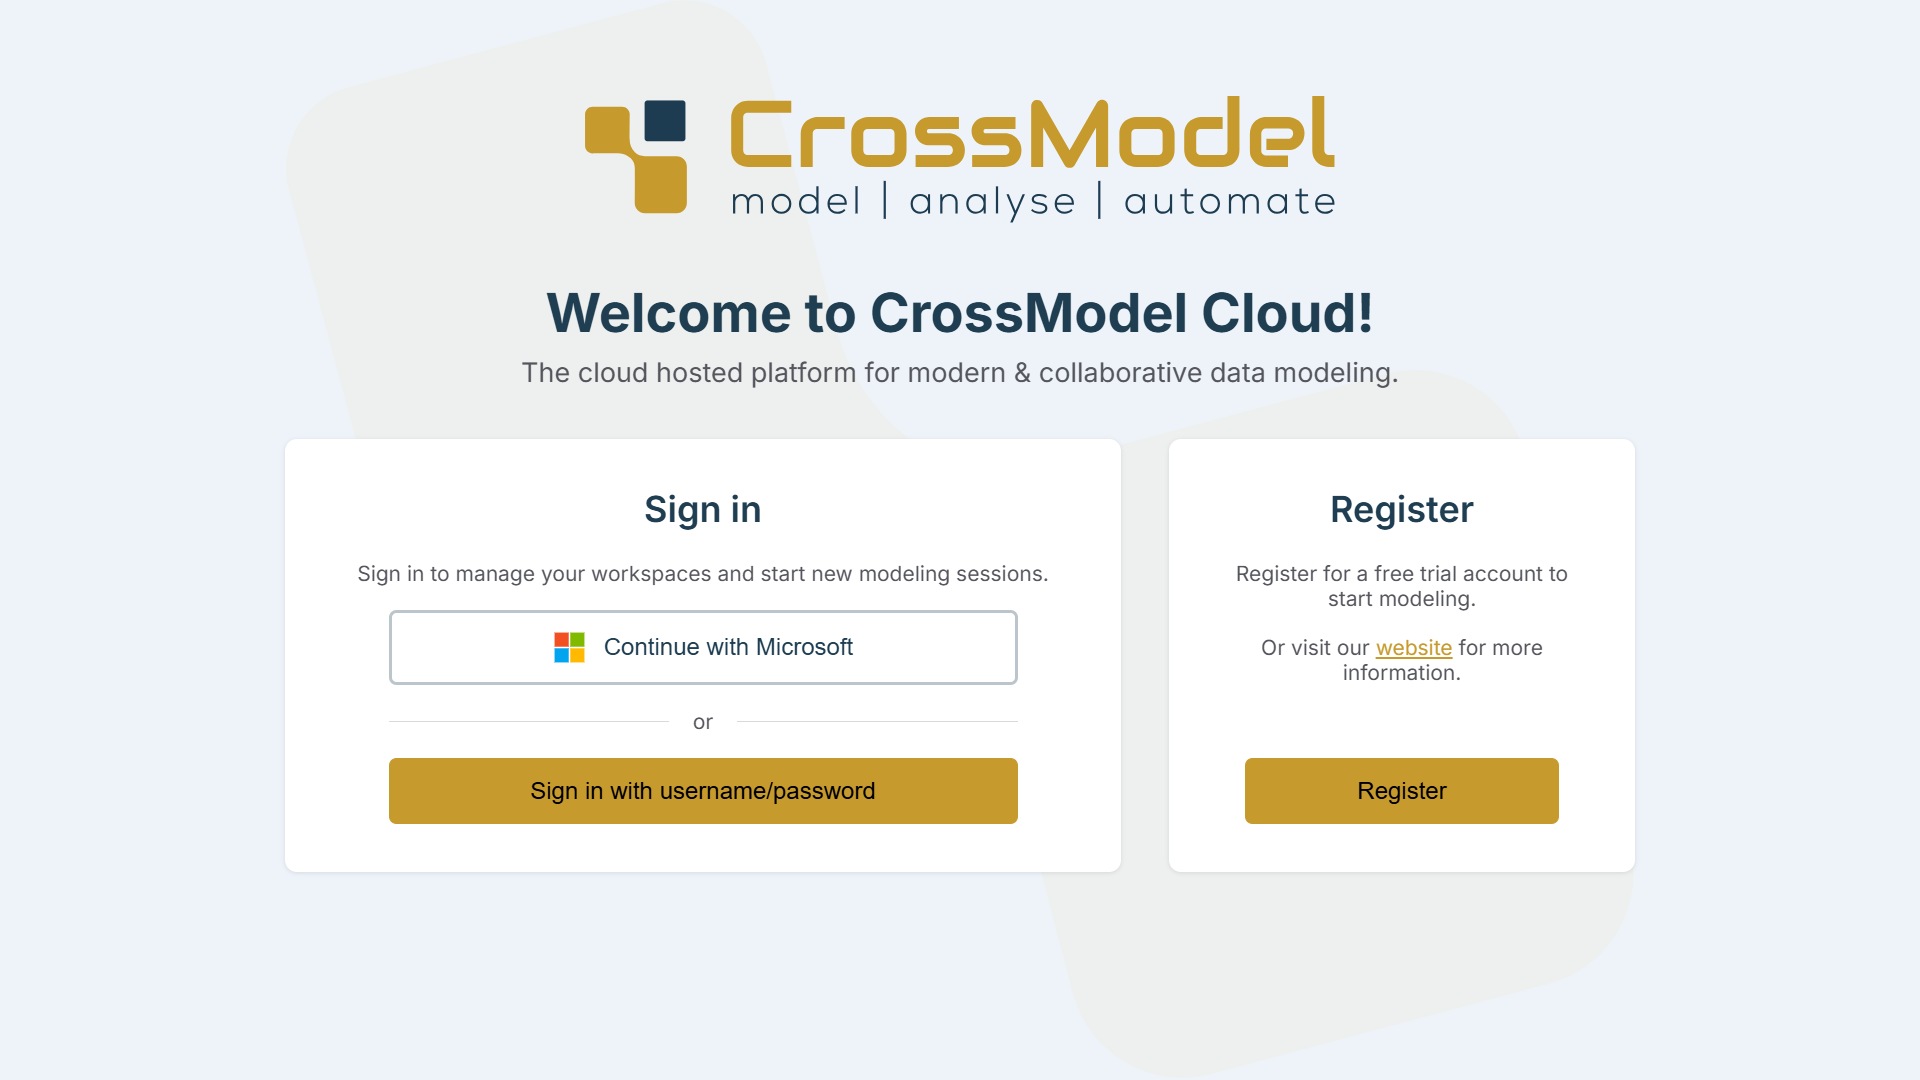
Go to app.crossmodel.cloud. The entry page has a Sign in column and a Register column.
Press Register to create a free trial account.
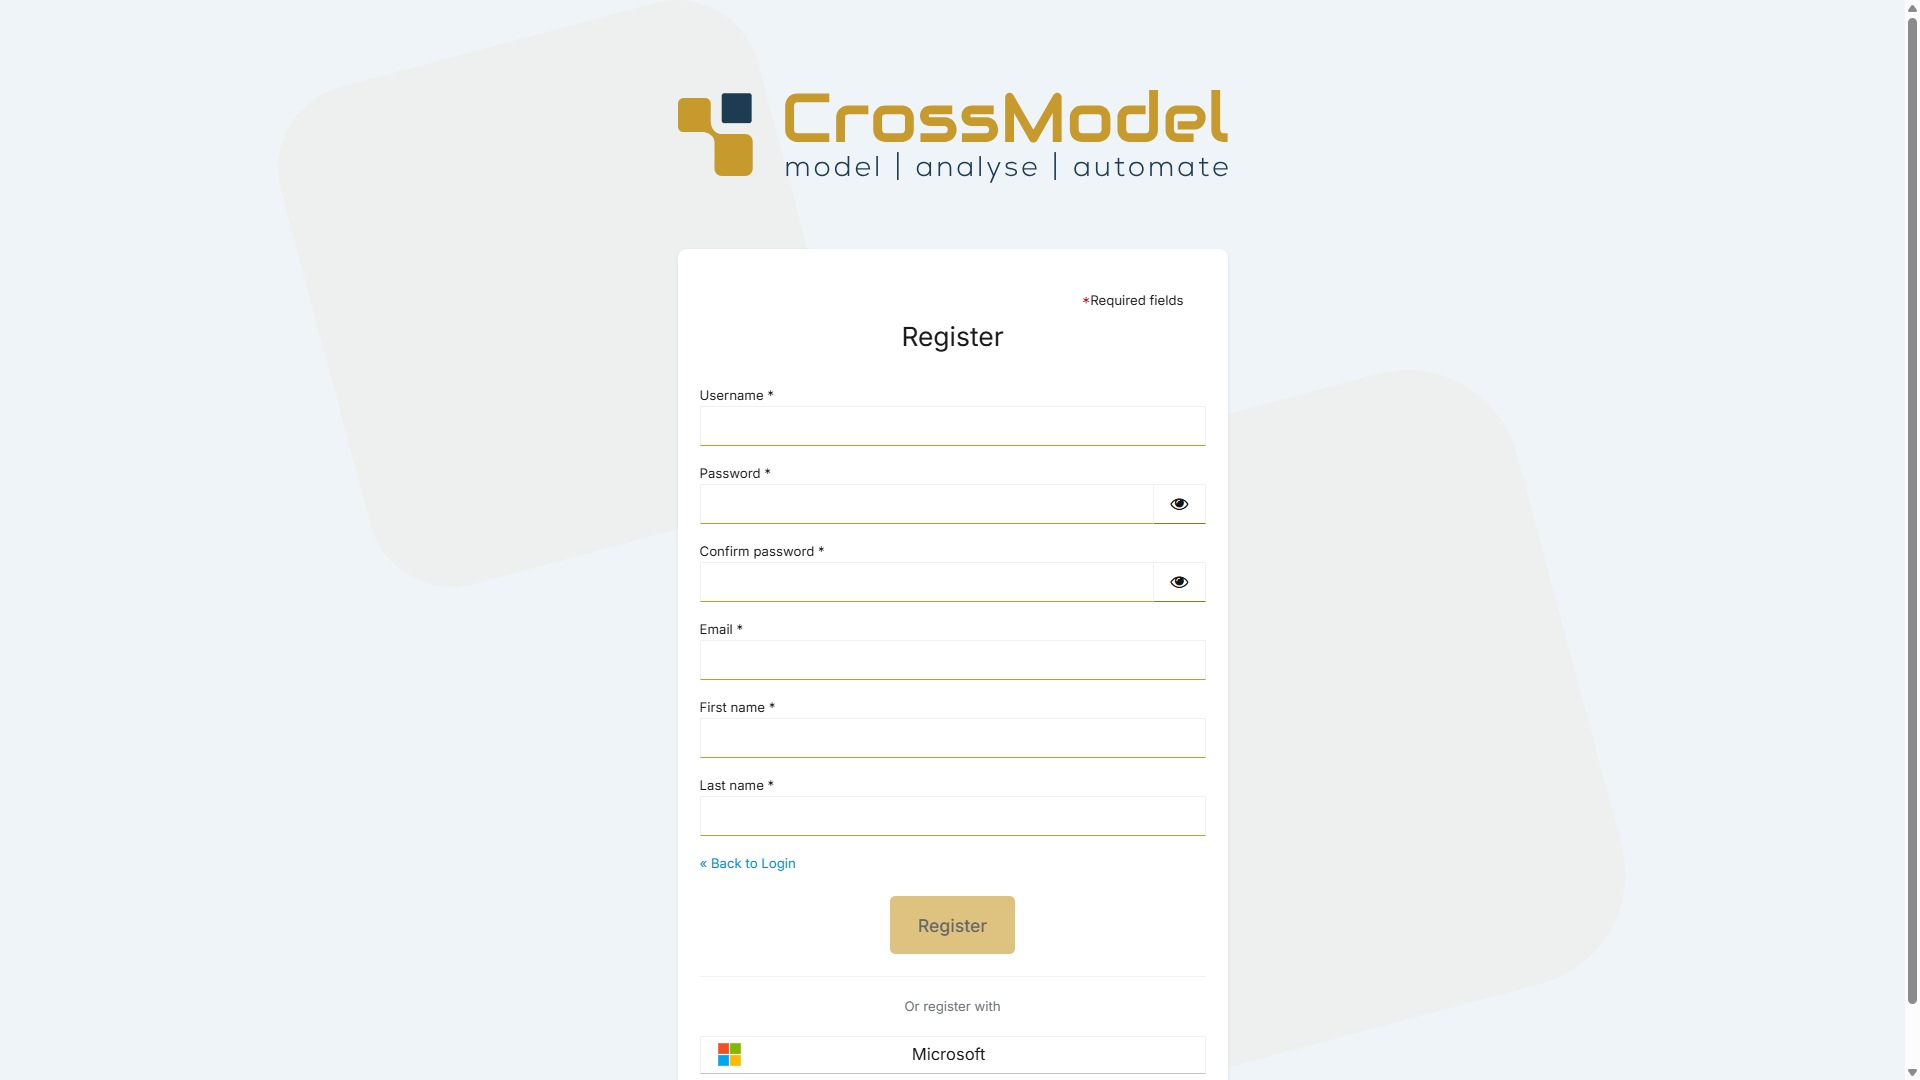
On the registration form you can either fill in a username, password, email and your name, or use Or register with → Microsoft to sign up with your Microsoft 365 account.
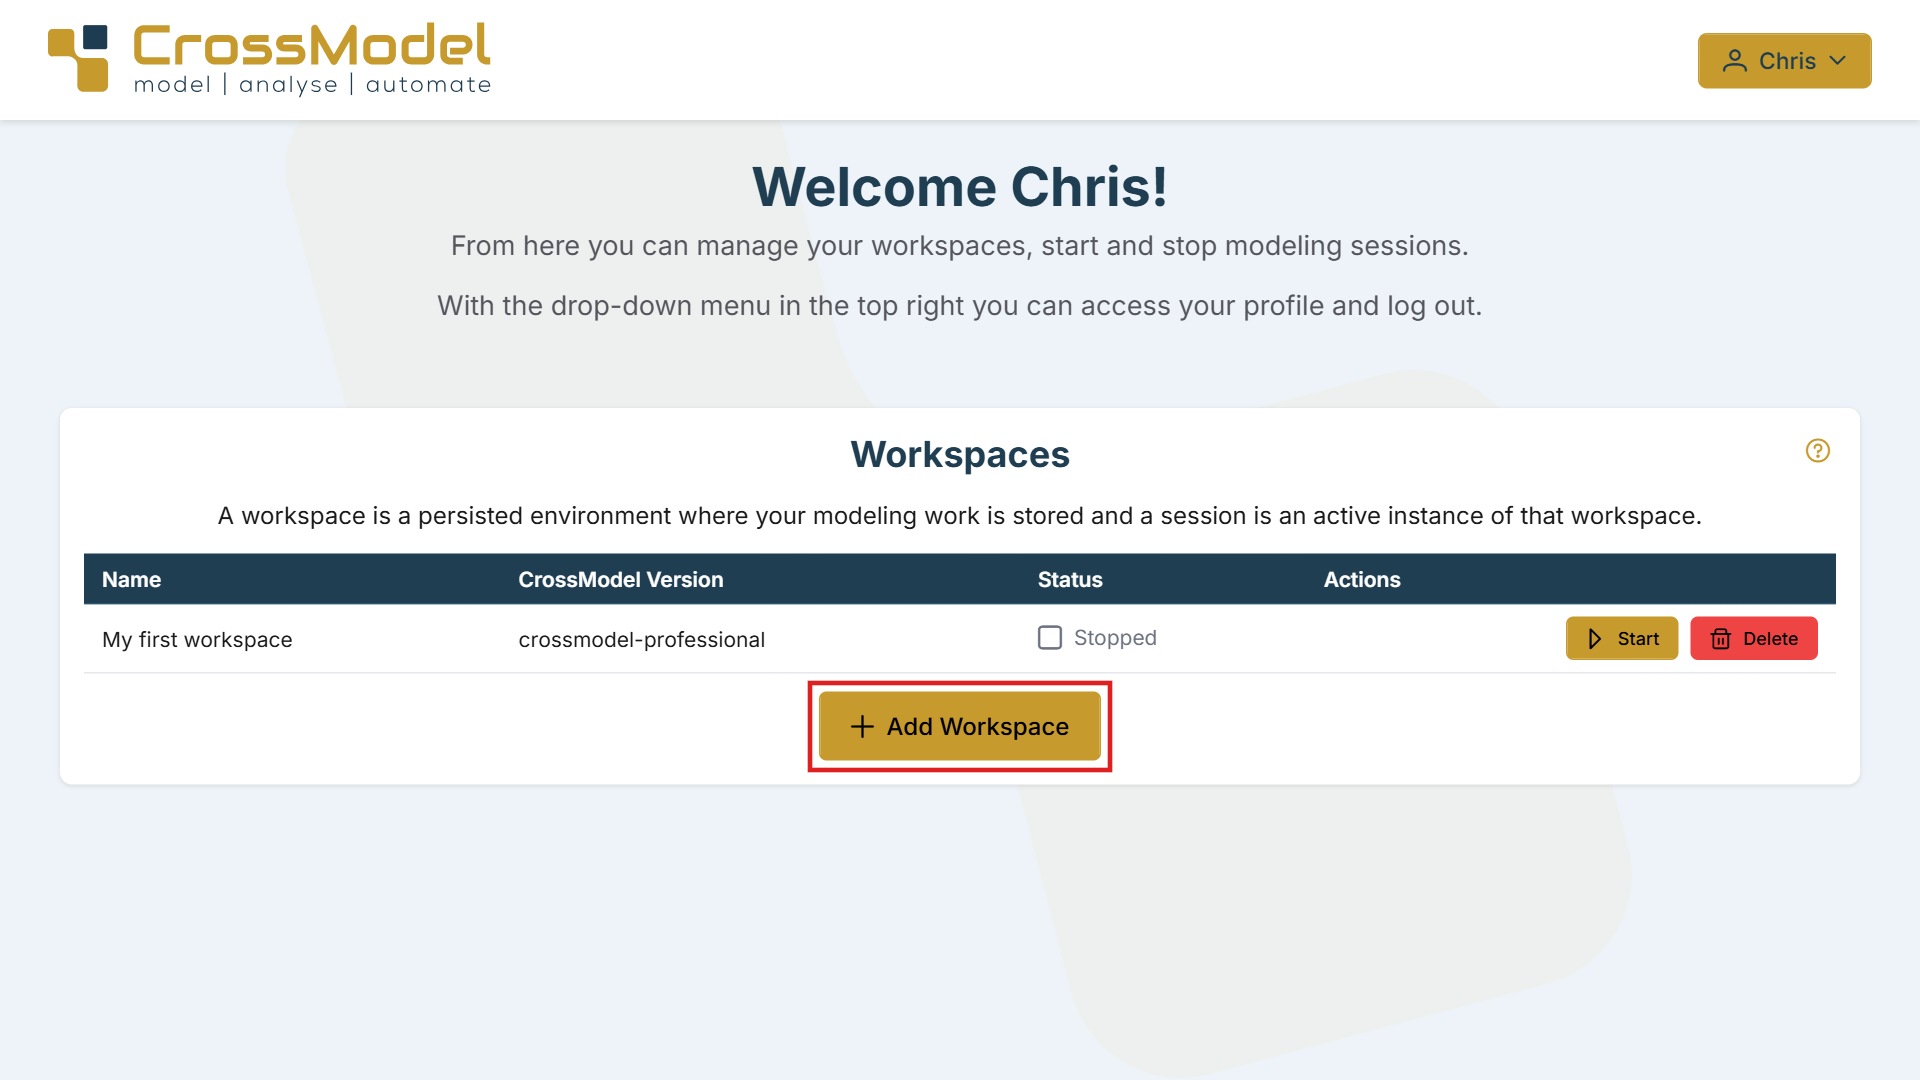
After completing the registration you'll be signed in and redirected to the workspace overview.
Step 2: Create your first workspace
The workspace overview is where you manage all your workspaces. To create your first one:
- Press the Add Workspace button.
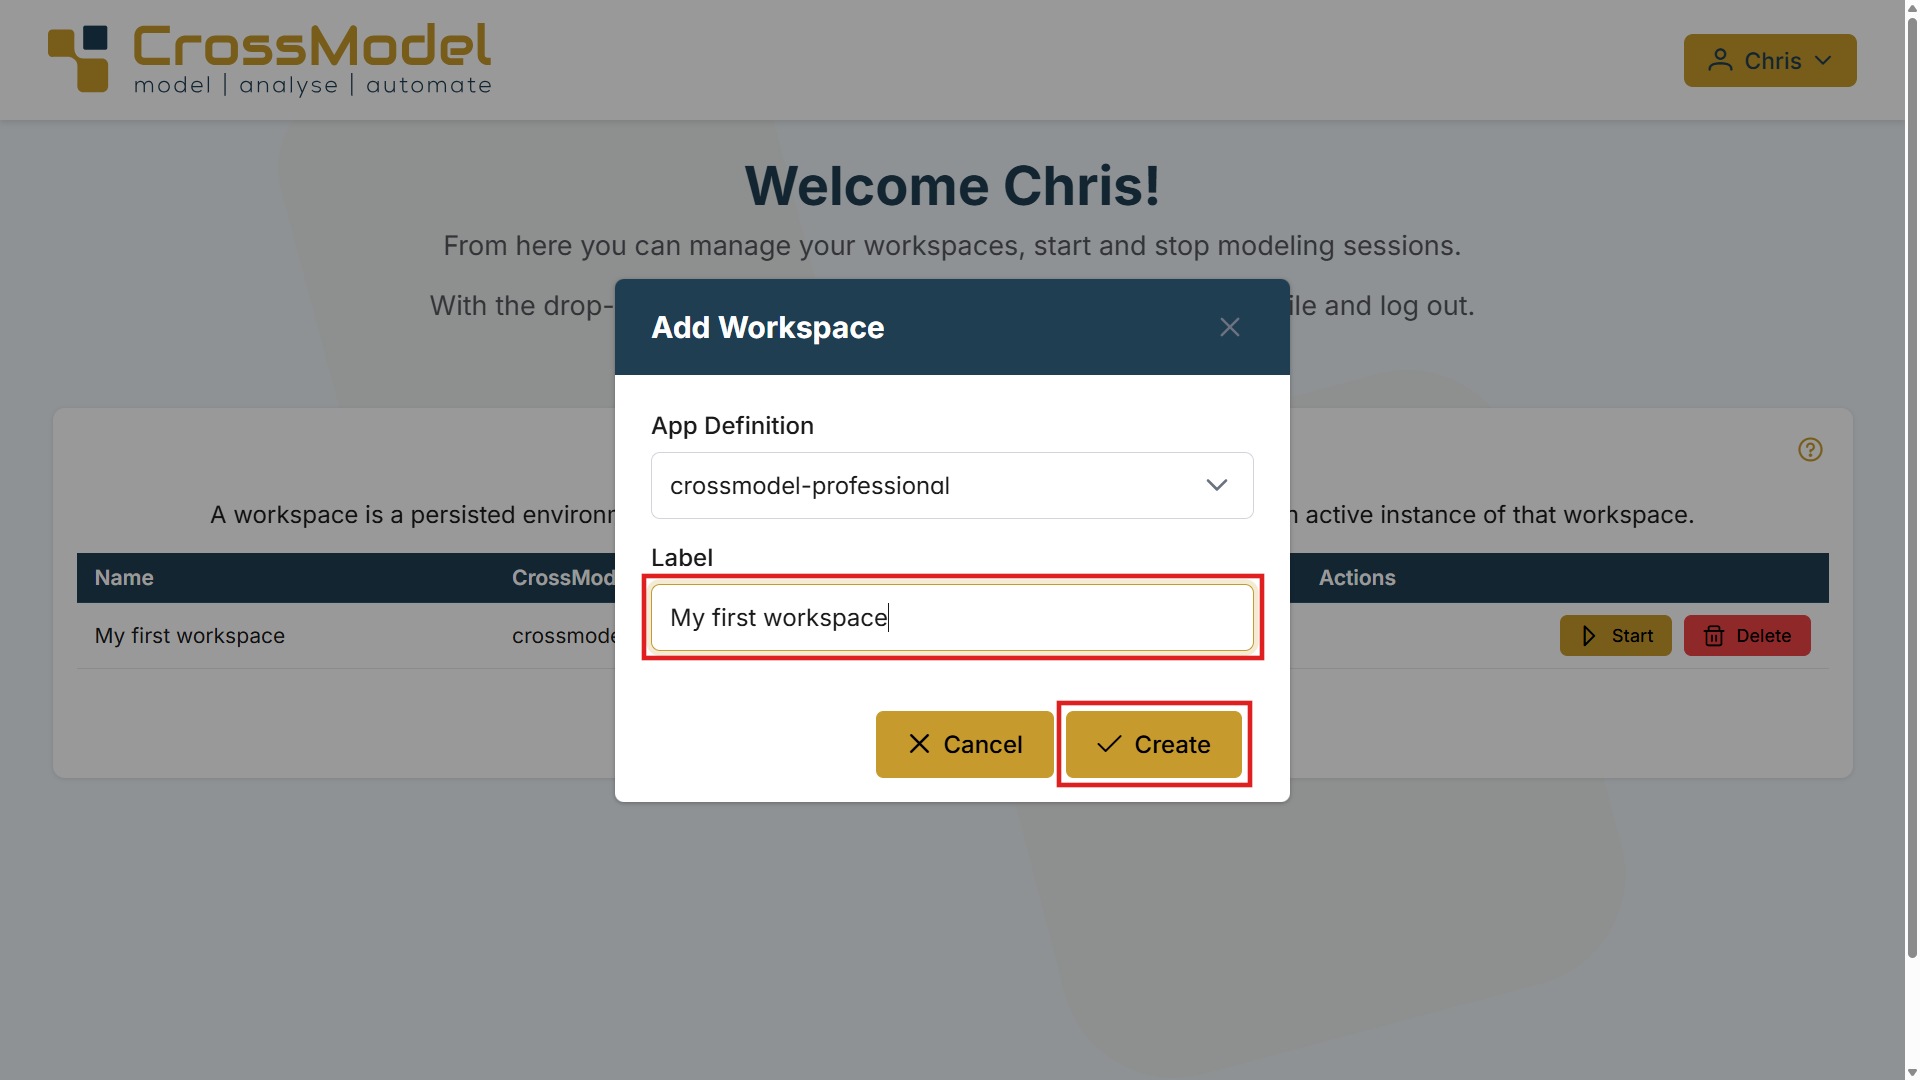
- Leave App Definition set to
crossmodel-professional. - Enter a label for your workspace, for example
My first workspace. - Press Create.
Your workspace now appears in the overview. Press Start to launch it. CrossModel will open in a new browser tab.
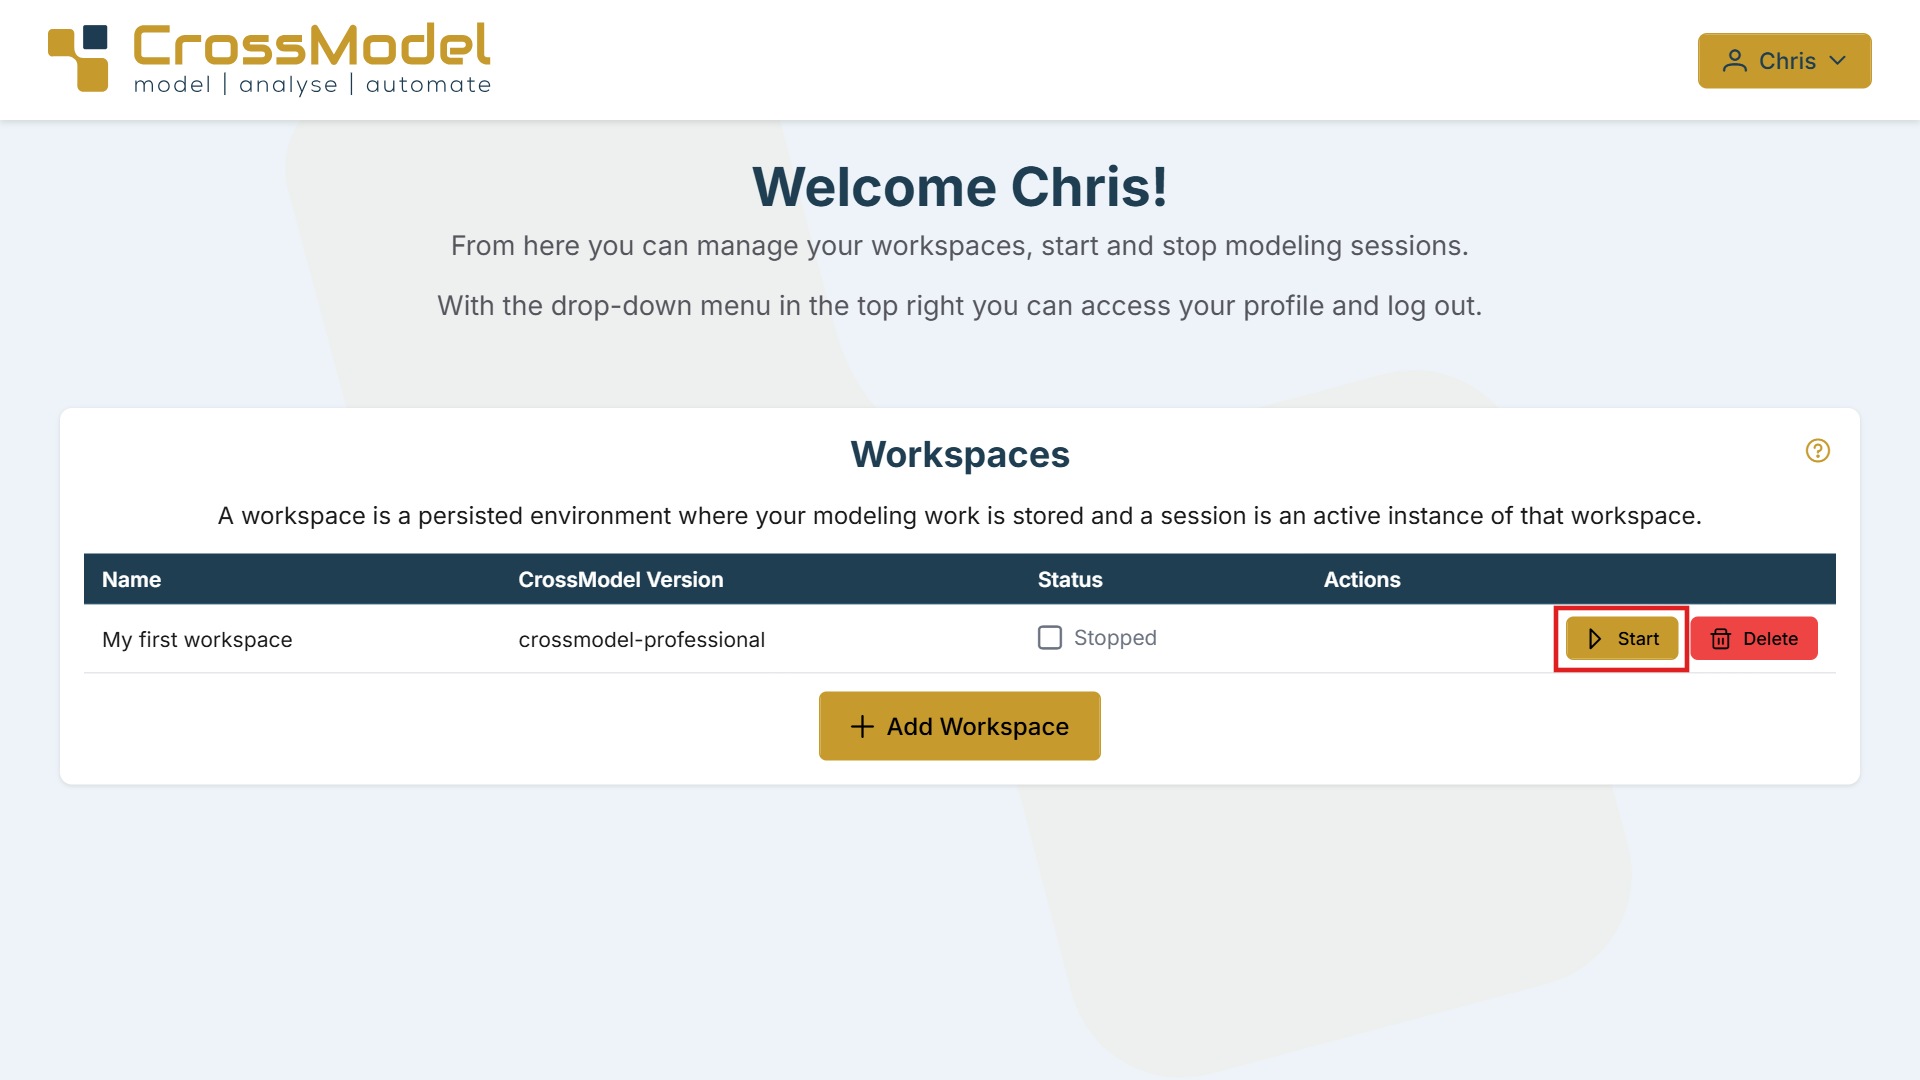
Tip
Make sure your browser allows popups from crossmodel.cloud, otherwise the new tab will be blocked.
For more details on workspace management, see Using CrossModel Workspaces.
Step 3: Explore the user interface
When your workspace opens, CrossModel greets you with the welcome page.
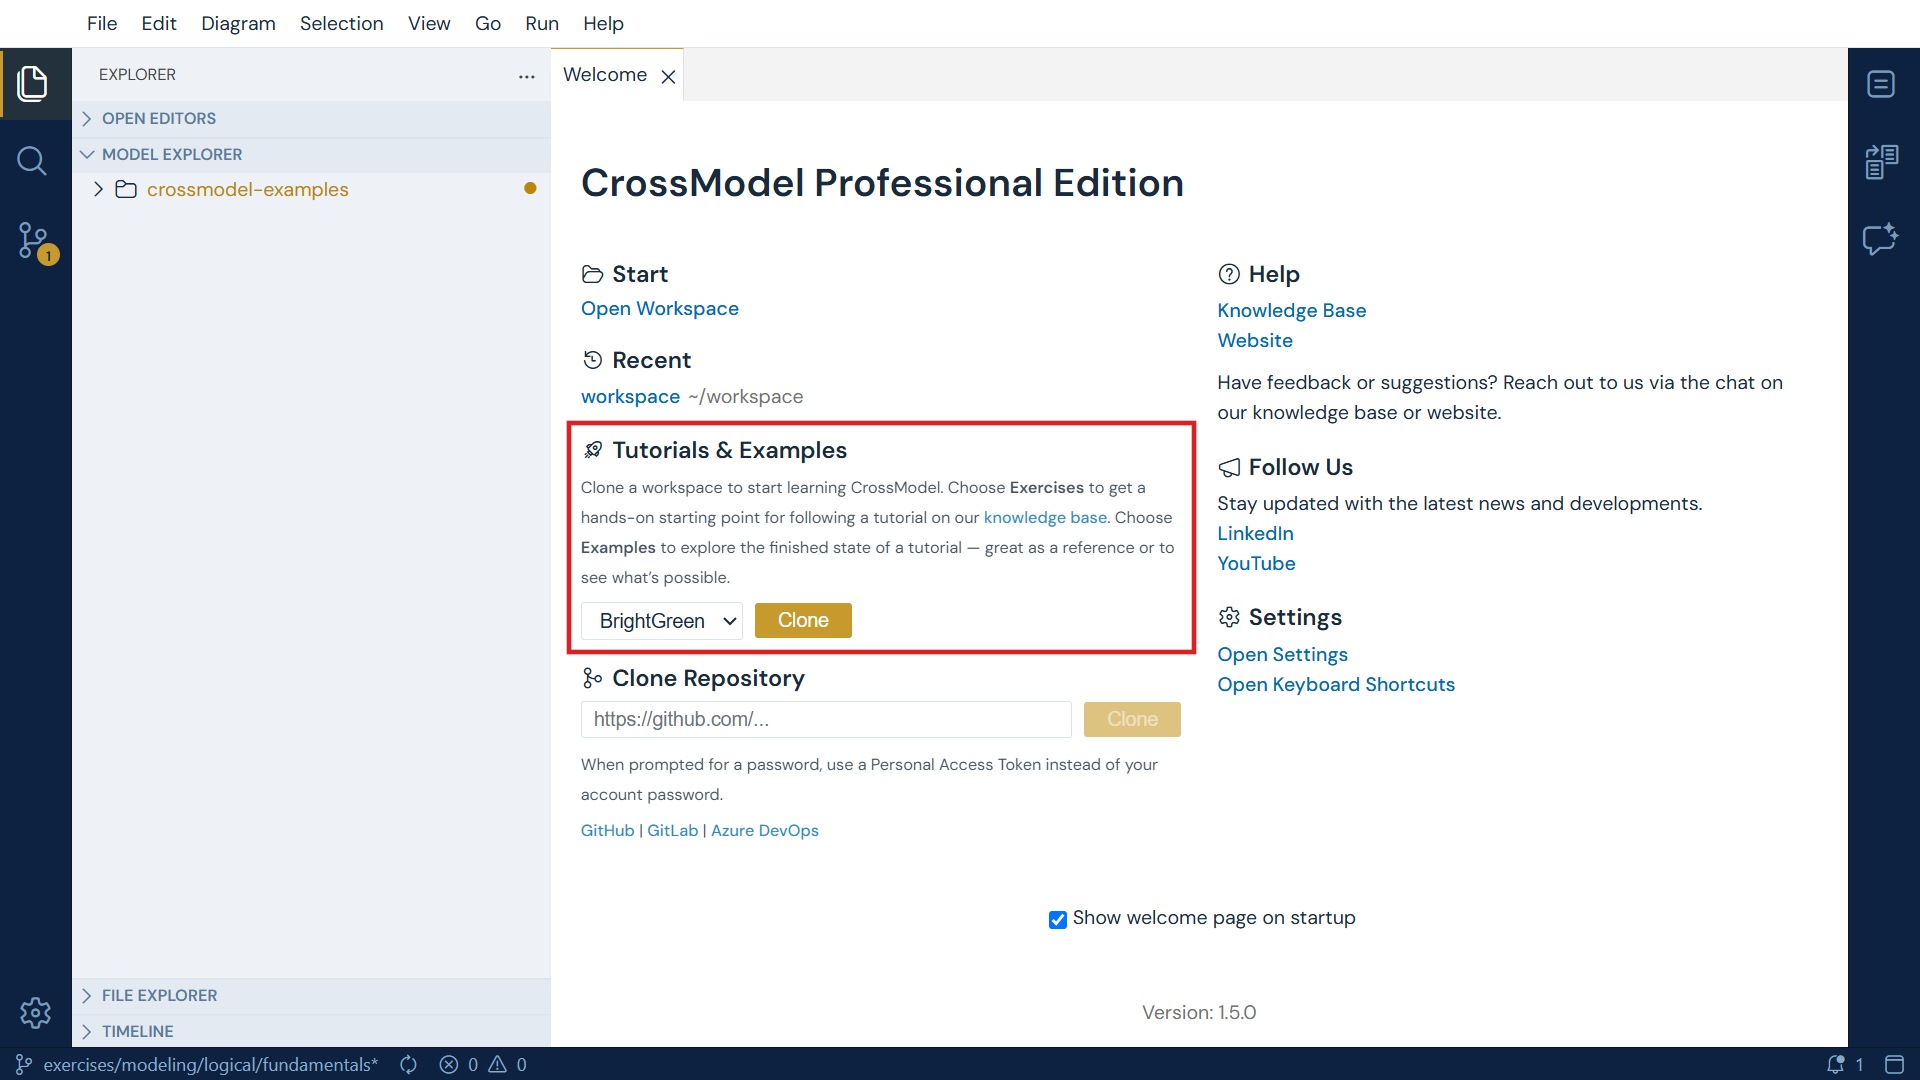
The interface has three main areas:
- Explorer (left) - Navigate your workspace. It holds two trees: the Model Explorer, which shows your work as model objects labelled by name, and the File Explorer, which shows the underlying files.
- Editor (center) - Create and edit model elements using the form editor, code editor, or diagram view.
- Properties (right) - View and edit details of the currently selected item, alongside the CrossGenerate and AI Chat panels.
Want a workspace with models already in it?
The welcome page has a Tutorials & Examples section that clones a ready-made workspace for you. Choose Exercises for a tutorial starting point, or Examples for the finished result.
For a full overview of the interface, see CrossModel User Interface and The Model Explorer.
Step 4: Create a data model
A data model is the container for your entities, relationships, and diagrams. To create one:
- In the Model Explorer, select the root folder of your workspace.
- Use the create data model button in the toolbar.
- Enter a name for your model, for example
MyFirstModel. - Leave Type on Logical.
- Press Ctrl+S to save.
Why Logical?
The Type dropdown offers Logical and Conceptual. Logical models hold entities with typed attributes, which is what the rest of this guide builds. Conceptual models describe what the business means before anything is decided about storage - see Conceptual Modeling once you have finished here.
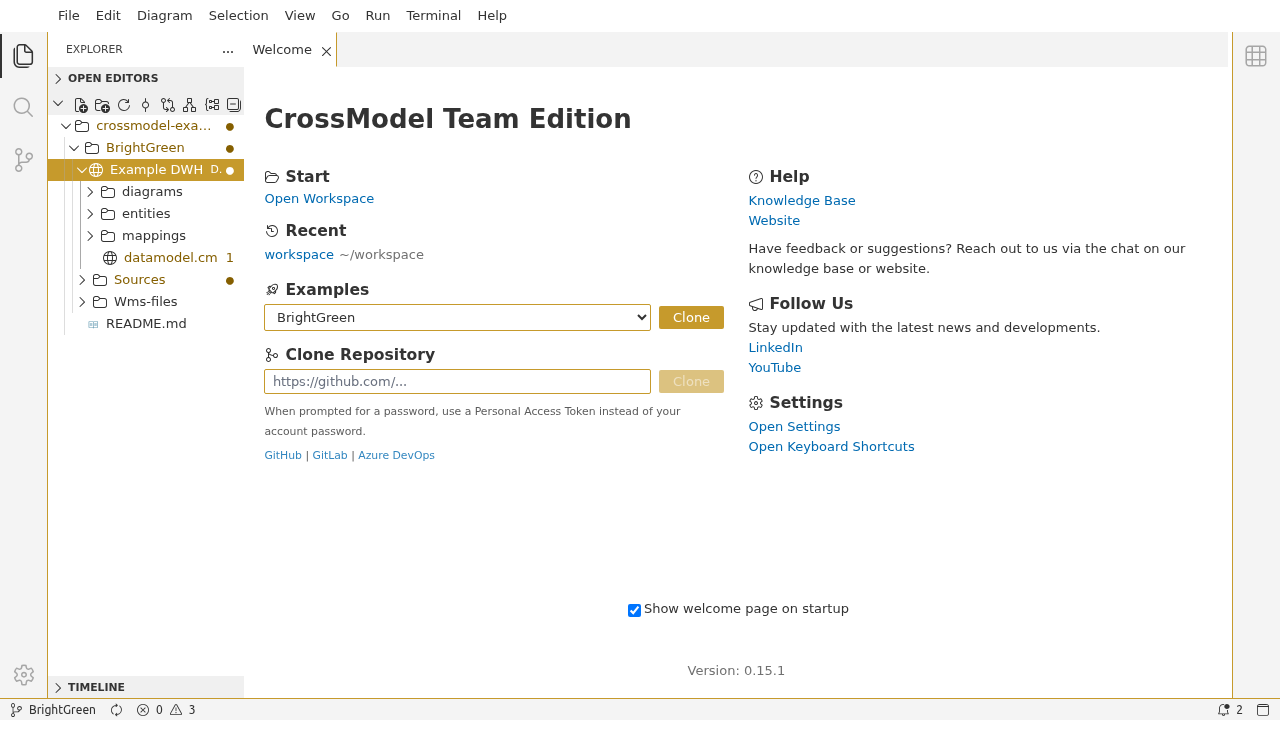
Step 5: Create your first entity
Now let's add an entity to your model. An entity represents a real-world object or concept, such as a customer, product, or order.
- In the Model Explorer, select your newly created model.
- Use the create entity button in the toolbar.
-
In the form editor that opens, enter the following details:
Field Value Name CustomerDescription A customer of our business -
Add a few attributes using the attributes section of the form:
Attribute Name Data Type IDInteger NameText EmailText -
Press Ctrl+S to save.
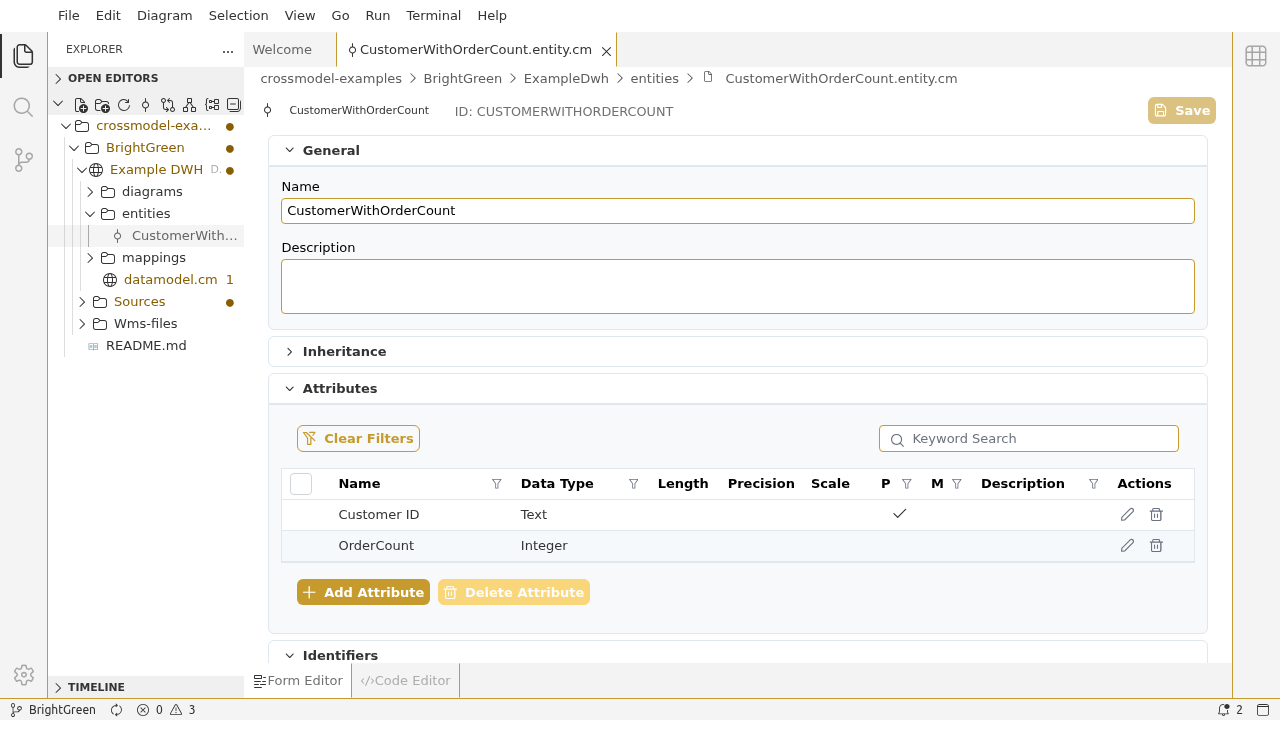
The form editor shows the entity's general details at the top and its attributes in a grid below:
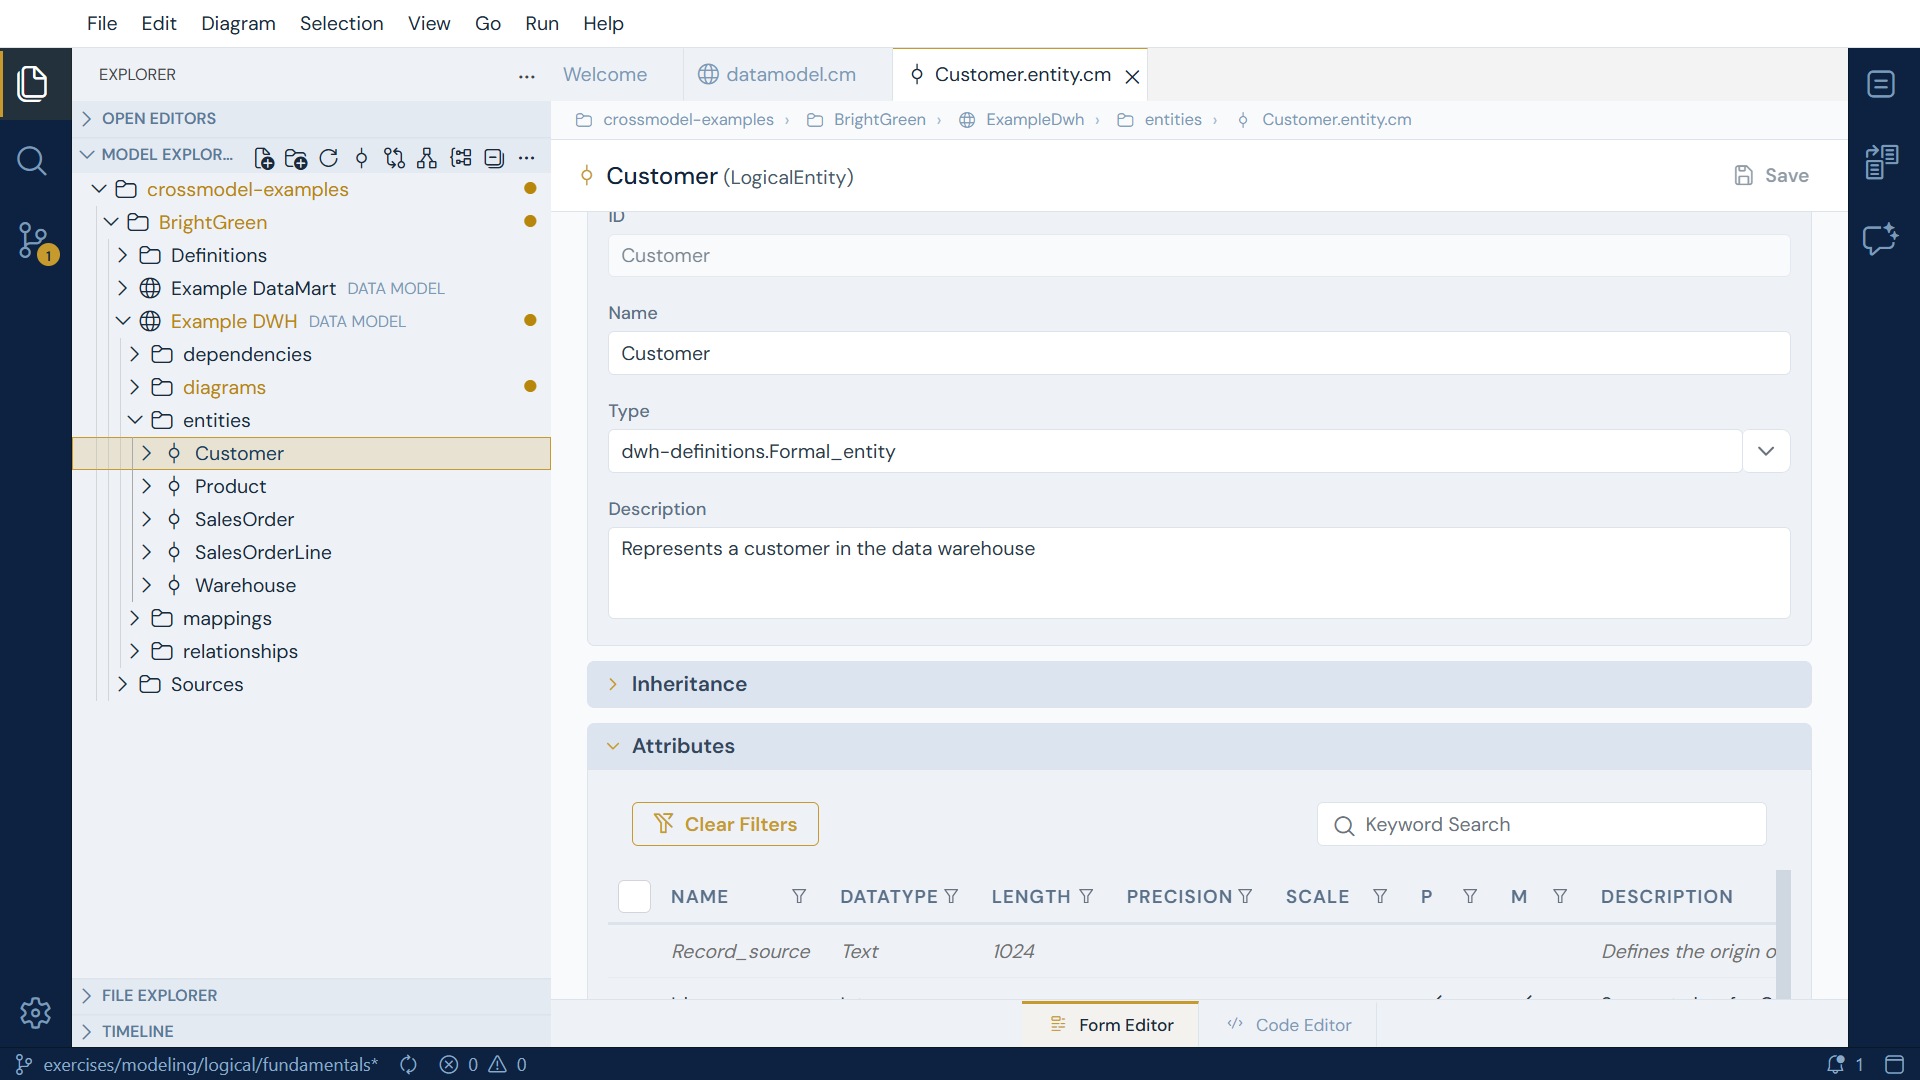
You've just created your first entity in CrossModel.
Step 6: Explore the editing perspectives
CrossModel offers three ways to view and edit the same model element. With your Customer entity open, try switching between them:
- Form editor - The structured view you just used, with labeled fields for each property.
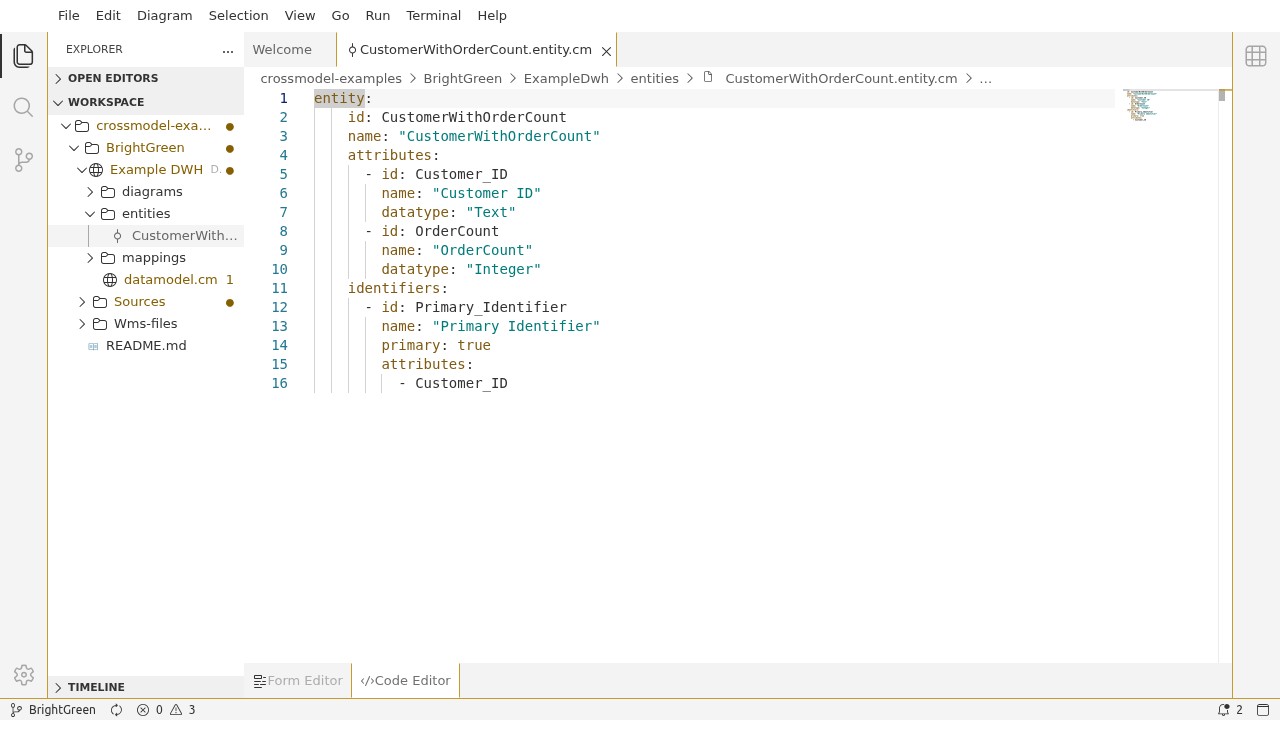
- Code editor - A text-based view showing the entity in YAML format. You can edit the YAML directly and switch back to the form to see your changes reflected.
- Diagram - A visual canvas where entities are displayed as boxes with their attributes, connected by relationship lines.
All three perspectives are always in sync - a change in one is immediately reflected in the others.
What's next?
You now have a CrossModel workspace with a data model and an entity. Here's where to go from here:
- CrossModel Basics - Learn about the user interface, the Model Explorer, workspaces, diagrams, and other core features.
- Datamodeling Fundamentals - Follow a comprehensive tutorial that walks you through building a complete data model with entities, relationships, and diagrams using a realistic scenario.
- Glossary - Look up any unfamiliar terms.